When you add the clients’ data in your CRM you achieve one of the most important business goals — get a customer you can be contacted with. But do not think that it is the end of the journey. There are a lot of work ahead.
Client database is a useful tool which helps to communicate with customers. You can call them to introduce your company, motivate new clients to make a purchase, etc.
It allows to make a complex trigger system where each action has a response without any manual interactions. Such systems often use an automated Callback as a main tool.
Let us see that is it and how to apply it for your business.
There are two typical cases when the callback can be useful:

Case 1
You want to call the client right after he submitted a registration form and appeared in your CRM system.
Case 2
You want to call the client right after his information in CRM card was changed (for example you’ve added the Name value in client’s CRM details)
Of course, there can be other cases when a callback is a suitable option:
confirm registration
verify the data
send promos to new customers
inform about a delivery
manager cannot reach a customer
a client haven’t shopped for a long time
You can use Effebot to make a callback trigger system for your business. You will need an integration with marketing platform you use to manage your audience.
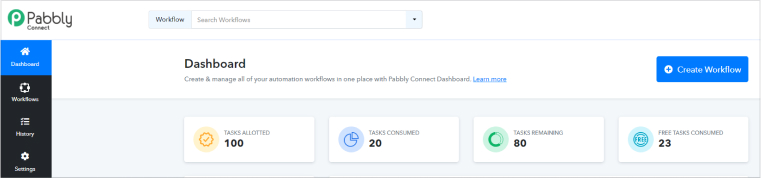
For example, you can use Pabbly. Pabbly is a paid service. You can find prices on the main page. However, Pabbly provides a free trial.
Below you will find a tutorial that helps you to integrate Effebot with Pabbly.
1. You want to call the client right after he submitted a registration form and appeared in your CRM system.
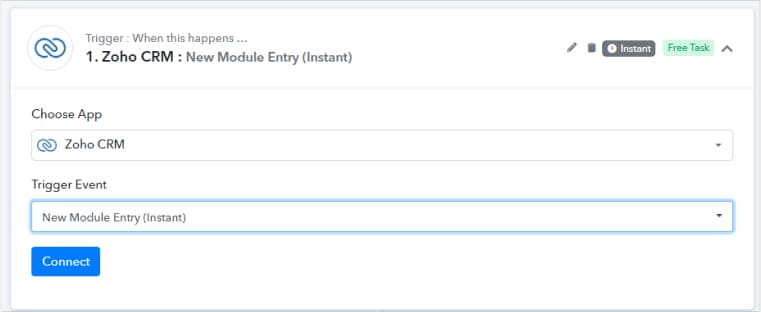
2. In the window “Trigger” choose the CRM you use. The trigger events differ and will depend on the chosen CRM system.
In general you can choose 2 types of trigger events. The first one is adding something new to CRM (company, lead, contact). The second one is updating any information.
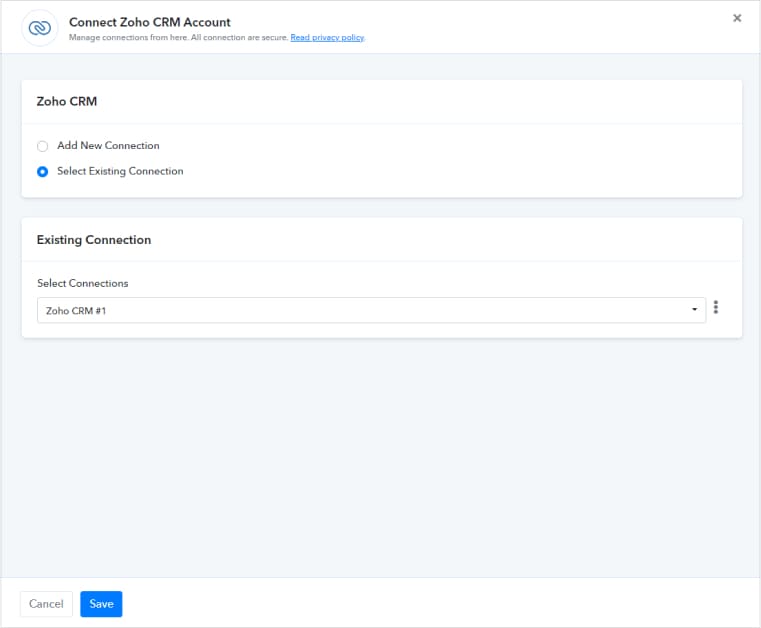
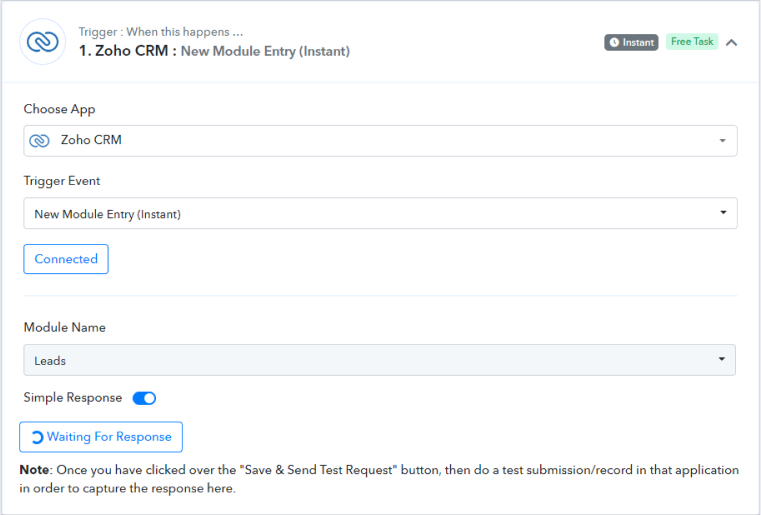
As a trigger event you have to choose “New Module entry (Instant)” and connect it with your CRM by pressing the button.
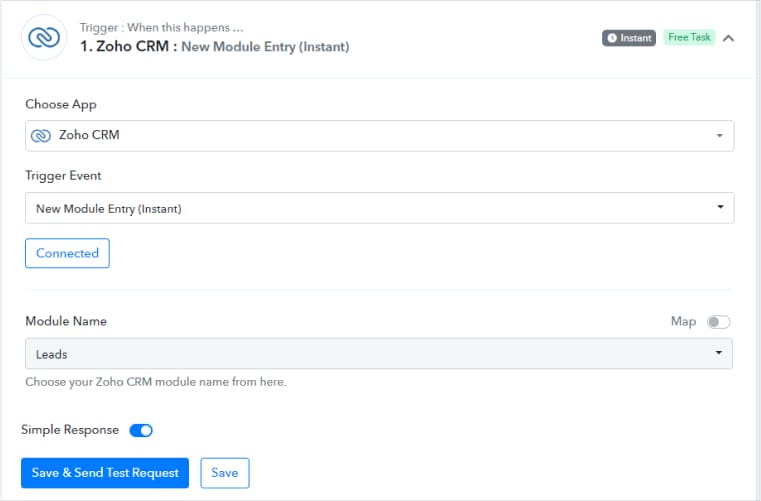
3. After connecting your CRM system choose the module where the information will come from (Leads, Contact, Company, etc.).
Then you can save and send a test Request. Pabbly will be waiting for an answer (data). Let him get this data. Log in your CRM system and create a lead there.
4. In the window “Trigger” choose the CRM you use. The trigger events differ and will depend on the chosen CRM system.
In general you can choose 2 types of trigger events. The first one is adding something new to CRM (company, lead, contact). The second one is updating any information.
As a trigger event you have to choose “New Module entry (Instant)” and connect it with your CRM by pressing the button.
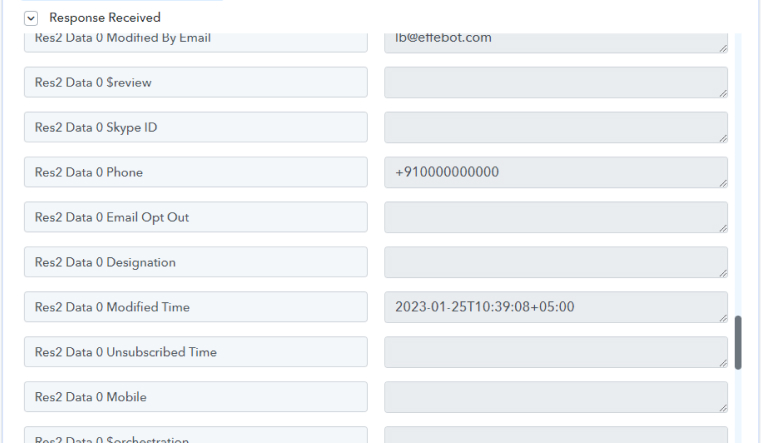
5. After creating the new Lead, Pabbly will automatically receive leads data.
Make sure that Pabbly has caught the phone number.
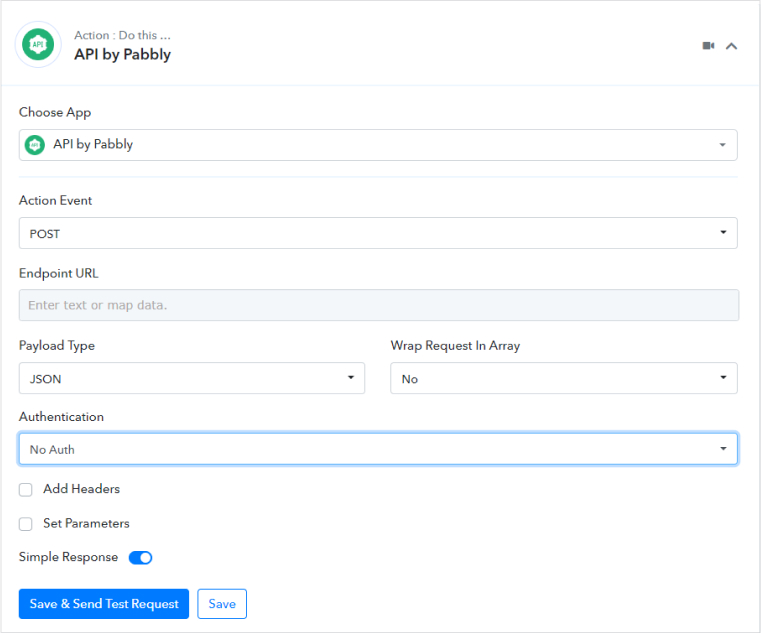
6. Next step is to create an action event. As an action event choose API by Pabbly and make all settings like on the screen:
Action Event: Post
Api Endpoint Url: https://in.effebot.com/apiCalls/createWithTemplate
Payload Type: JSON
Wrap Request In Array: NO
Authentication: No auth
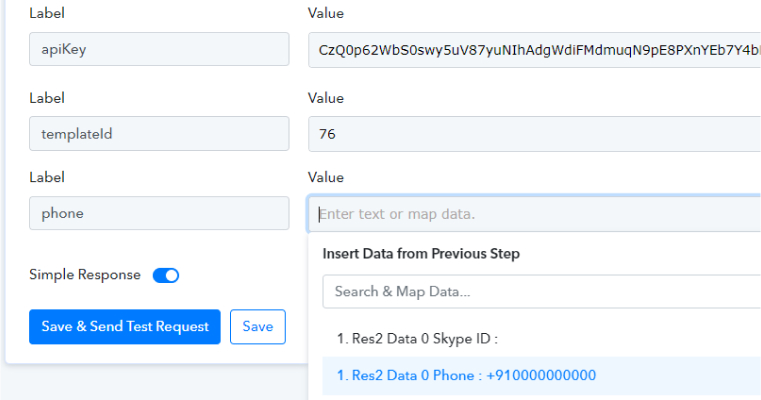
7. You have to add 3 main parameters — apiKey, templateId and phone.
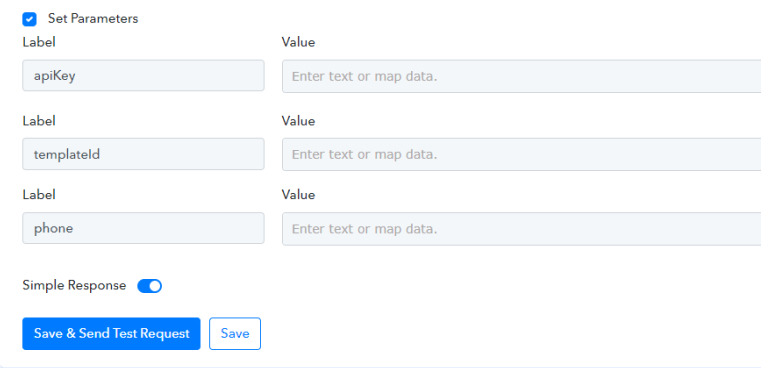
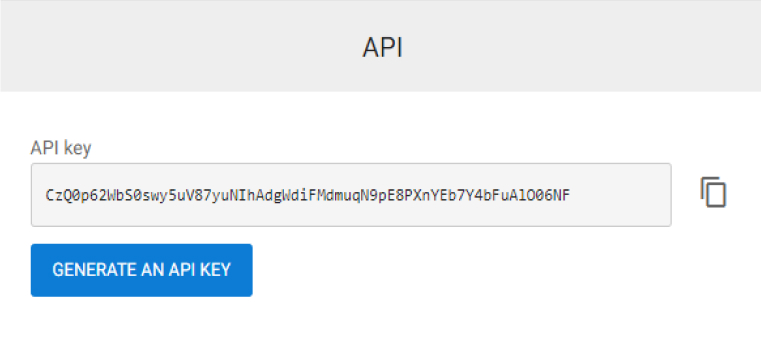
apiKey — you can find it at the very bottom of the profile page in the Effebot panel.
templateId — You must create a new template on the Effebot panel. Press on Other and choose the Api template there. After that, create a new template. Don't forget to add your telephone number. you can contact your manager to approve it.
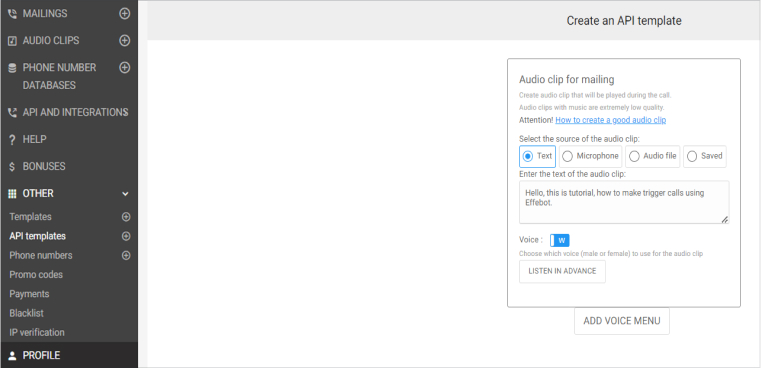
After creating the template you will find the ID of your template. Copy it. The moderation process will take up to 30 minutes.

8. Now return to Pabbly and fill Value with the data received from the Effebot.
In the phone value insert data from the previous step (look at the 5th point in the tutorial). In my case it is a Res2 Data 0 Phone.
After completing these steps you can save your automation and send test request
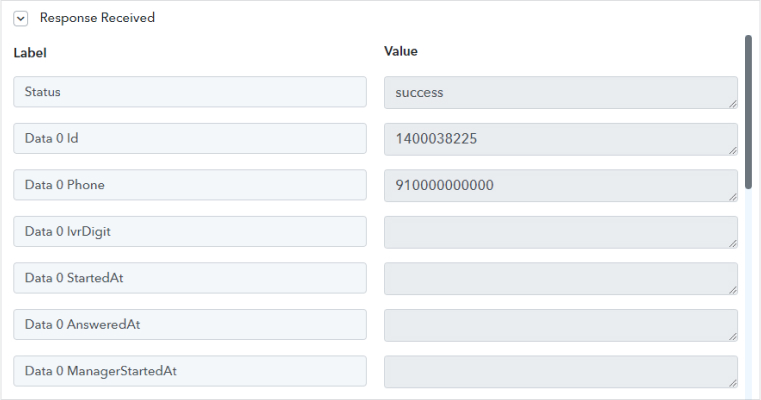
9. If you receive the following response and call was successful it means that automation has been done.
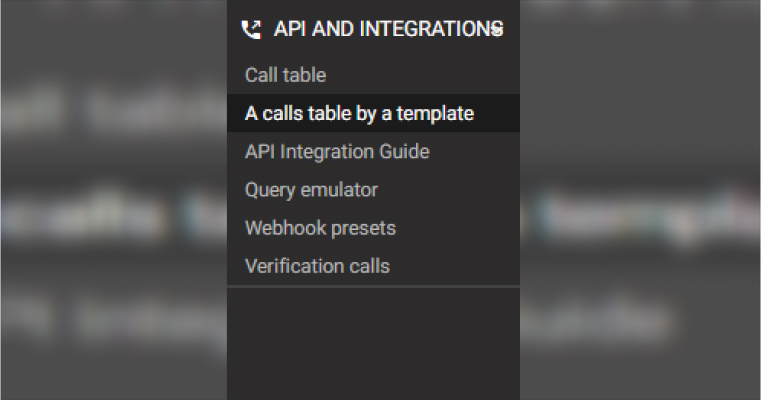
10. Now after creating a new lead in your CRM system, the calls will be automatically made with Effebot. You can check these calls in “calls table by a template” page.
NETVANA TELESMS PRIVATE LIMITED
4th Floor, Flat No. 28/A, FO-02,
80 Feet Road, Michael Palya,
Bengaluru, India